

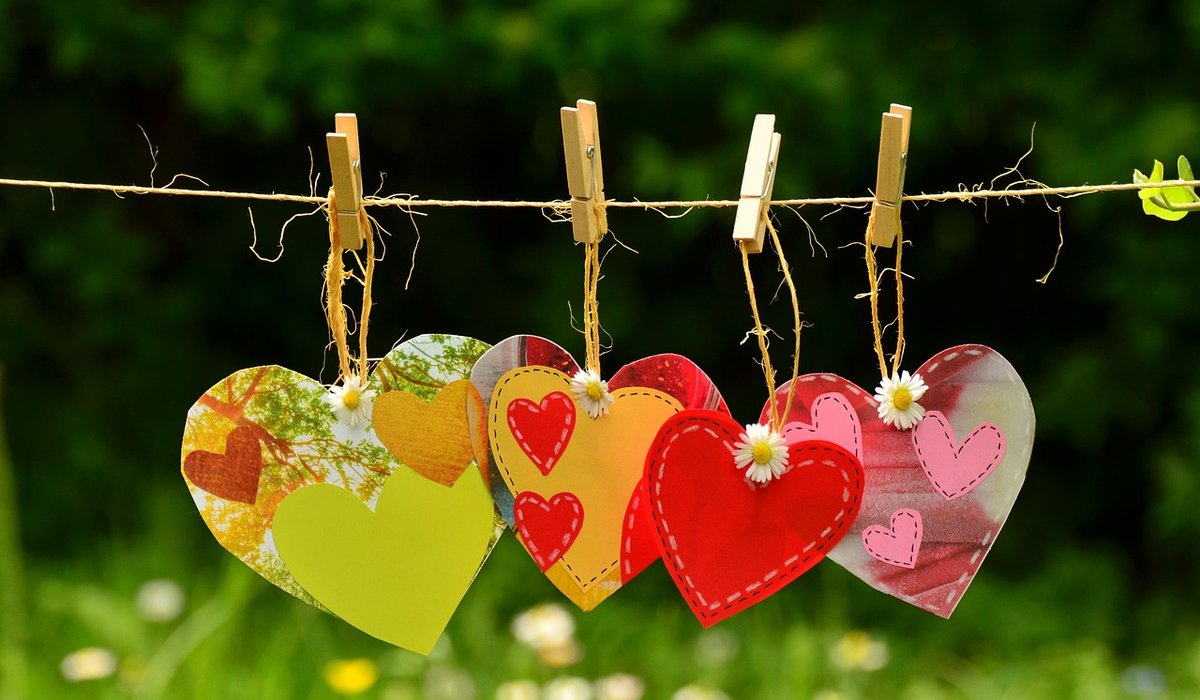
Most families have a drawer somewhere that has become a graveyard of good intentions: cinema stubs, a pressed flower from a first walk, a hospital wristband, birthday cards with the names half rubbed off. These things matter, but loose in a drawer they are impossible to enjoy and easy to lose. A memory box gives them a proper home. It keeps everything in one place, protects fragile paper from light and handling, and turns a jumble of odds and ends into something you can actually sit down and look through together.
The best boxes are not fancy. They are sturdy, clearly labelled and built around the things you already own. Set aside an afternoon, clear the kitchen table, and work through it slowly. Half the pleasure is in the sorting.
Start with a rigid box rather than a thin cardboard one. A lidded storage box around 30cm x 25cm x 15cm suits most keepsake collections, and a shallow archiving box works well if you are storing photographs or certificates flat. Look for something with a close-fitting lid, as this keeps out dust and slows down changes in humidity. If the box you love is flimsy, reinforce the inside corners with strips of card glued in place and leave them to dry overnight.
Before you decorate anything, check the box is clean and dry, then decide which way up you want the lid to open. It sounds trivial, but it affects how you will label the front and which panel is the display side.
Empty the drawer, the shoebox and the envelope from the back of the wardrobe onto the table. Now sort into loose piles rather than trying to be tidy straight away. A useful set of groups is:
Be honest about what you are keeping and why. A box that is crammed is a box that gets damaged, and items that press against each other will crease and scratch. If you have duplicates, keep the best one and photograph the rest before letting them go.
Line the base and sides with acid-free tissue paper or buff-coloured archive paper, which you can buy in sheets or on a roll. Ordinary wrapping paper and newsprint are acidic over time and will yellow photographs and brittle paper, so avoid them for anything you truly want to last. Cut the paper slightly larger than each panel, brush the surface with a thin layer of PVA adhesive diluted with a little water, and smooth the paper down from the centre outwards to push out air bubbles.
For the lid interior, a contrasting paper looks lovely and helps you see what is inside. Leave the paper to dry fully for a few hours before adding anything, otherwise damp adhesive can mark the first items you place in.
Decorate the outside with the same restraint you would use on a photo album. A border of washi tape, a strip of patterned paper along the lid edge, or a single large label on the front is usually enough. If you are covering a whole panel, measure twice, cut once, and work in good light.
Consider these finishing touches:
Keep the decoration personal but simple. Handwriting beats a printed font every time when it comes to family items.
Divide the box into zones rather than filling it loose. Small envelopes made from acid-free paper are perfect for tickets and tokens, and glassine bags work well for photographs. Write on the outside of each envelope in pencil, not pen, so labels can be changed later without damage.
Place heavier items at the bottom and lighter paper on top. Roll textiles rather than folding them, and wrap anything metal in acid-free tissue so it does not rub against paper. A silica gel sachet tucked in a corner helps absorb moisture in a damp house; swap it every year or so.
Finally, add a note in your own words. A single sentence about the day, the person or the reason you kept something is often more valuable than the object itself, and it is the thing future generations will treasure most.
Store the box somewhere cool, dry and out of direct sunlight — under a bed or on a high shelf rather than in a loft or garage, where temperatures swing wildly. Aim to open it once a year, check nothing is damp or damaged, and add anything new that has accumulated. Rotate the contents slightly if you like, so different items sit near the top for a while.
Then close the lid, and let it quietly hold your family's story until the next time someone asks, "Do we still have that ticket?"

Creatingparlour We spend our time finding what works so you don't have to, and sharing exactly what made the difference.

Creatingparlour No rushing, no fuss — just thoughtful notes and practical help, written by people who care.

Make a practical apron with adjustable straps, a front pocket and durable cotton, protecting clothes during painting, baking and messy creative sessions.

Comments
ALina Kelian
19th May 2018 ReplyCreatingparlour Written for people who value the details, and want honest guidance they can trust. ullamco laboris nisi ut aliquip ex ea commodo consequat.
Rlex Kelian
19th May 2018 ReplyCreatingparlour Written for people who value the details, and want honest guidance they can trust. ullamco laboris nisi ut aliquip commodo.
Roboto Alex
21th May 2018 ReplyCreatingparlour We spend our time finding what works so you don't have to, and sharing exactly what made the difference. ullamco laboris nisi ut aliquip ex ea commodo consequat.